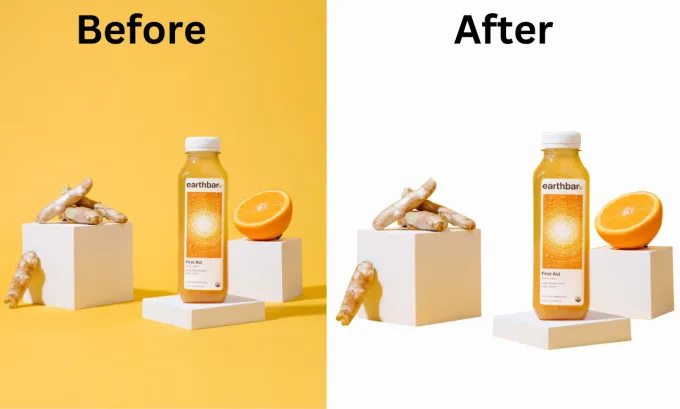
Automating background removal in Photoshop can save you a considerable amount of time, especially when working with a large number of images. While Photoshop does not have a one-click solution for background removal, you can use certain tools and features to automate the process to some extent. Here’s a step-by-step guide:
Method 1: Using Photoshop Actions
- Open Photoshop: Launch Adobe Photoshop and open the image from which you want to remove the background.
- Open the Actions Panel:
- Go to “Window” in the top menu.
- Select “Actions” to open the Actions panel.
- Create a New Action:
- Click on the “Create new action” icon at the bottom of the Actions panel.
- Give your action a name and assign it to a set if needed.
- Click “Record” to start recording your actions.
- Perform Background Removal:
- Use your preferred selection tool (e.g., Magic Wand, Quick Selection Tool, or Pen Tool) to make a selection around the subject.
- Once selected, press the “Delete” key to remove the background.
- Stop Recording:
- Click on the square “Stop” button in the Actions panel to stop recording.
- Batch Processing:
- To apply this action to multiple images, go to “File” > “Automate” > “Batch.”
- Choose the action you just created.
- Set the source and destination folders for your images.
- Click “OK” to run the batch process.
Method 2: Using Scripts
- Open Photoshop: Open Photoshop and the image you want to work on.
- Open the Scripts Panel:
- Go to “File” > “Scripts” > “Load Files into Stack.”
- Click “Browse” to select the images you want to process.
- Auto-Align Layers:
- If your images are not perfectly aligned, go to “Edit” > “Auto-Align Layers.”
- Choose the appropriate alignment method and click “OK.”
- Create a Smart Object:
- Select all layers, right-click, and choose “Convert to Smart Object.”
- Apply Layer Mask:
- Add a Layer Mask to the Smart Object.
- Use a selection tool or mask painting to mask out the background.
- Batch Processing:
- To apply this to multiple images, go to “File” > “Export” > “Export Layers to Files.”
- Choose the file format and location for the processed images.
Method 3: Using Third-Party Service
If you’re looking for a quick and efficient way to remove backgrounds, especially for multiple images, consider leveraging third-party plugins. One such plugin that can seamlessly integrate with your workflow is an excellent option for automating background removal.
By utilizing BZM Graphics services, you can ensure high-quality and professional background removal for your images. This adds an extra layer of precision to your workflow, ensuring that your images stand out with a clean and polished look. Visit BZM Graphics to explore the range of services offered and how they can enhance the visual appeal of your images. Remember to maintain a backup of your original images and review the results to ensure they meet your standards.

